
Note: this lesson will serve as an example using a Brother DCP-L5652dn all-in-one, to serve as a guide, so it is recommended to use each manufacturer's documentation for each model of all-in-one or scanner you are using.
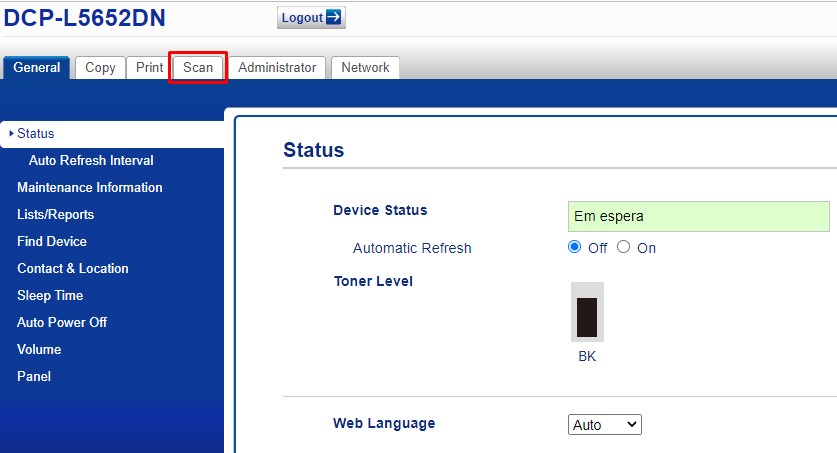
To configure a network folder profile, access your device's web interface and click on the "Scan" menu;
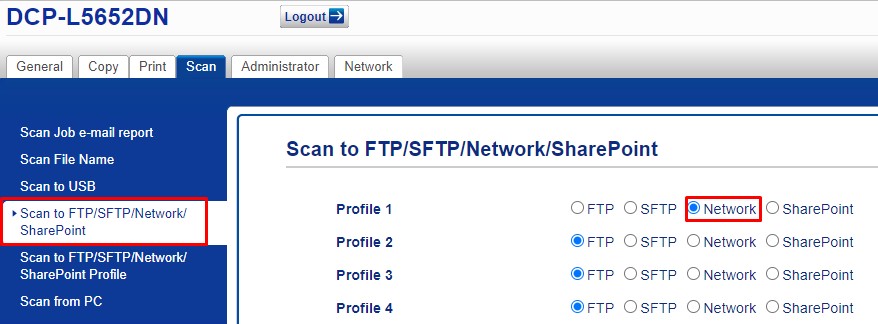
Click on the highlighted "Scan to FTP/SFTP/Network/SharePoint" menu and set the Profile that will be used as Network and click on "Submit" at the bottom of the page;
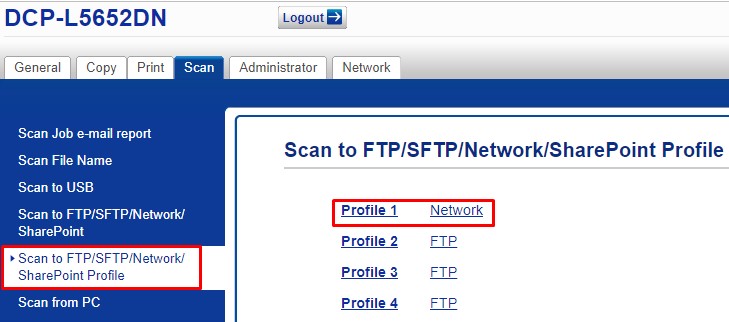
After that, click on the highlighted "Scan to FTP/SFTP/Network/SharePoint Profile" menu and click on Profile set to Network;
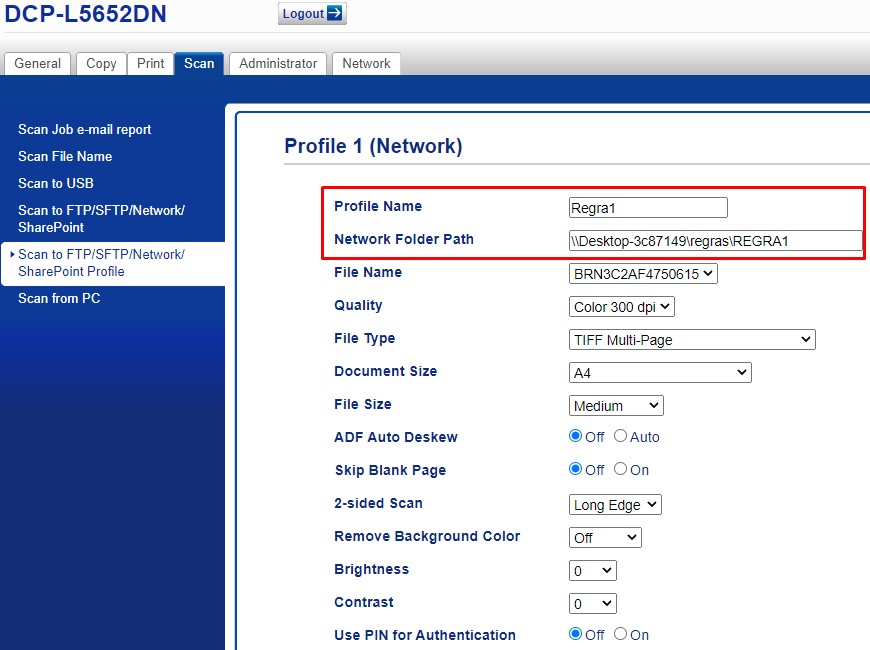
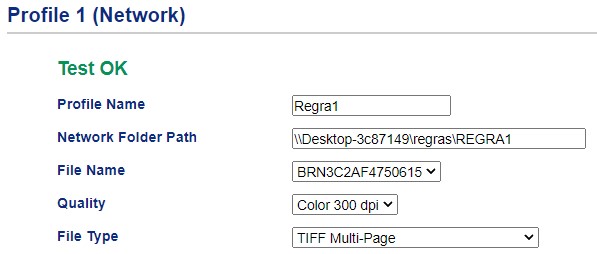
Set the profile name in "Profile Name" and put the shared folder path in "Network Folder Path", after that set the desired settings for scanning;
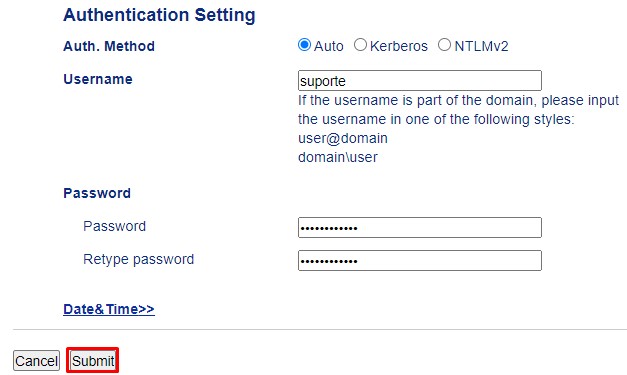
Below the settings, you will have the "Authentication Setting" setting where it will be necessary to inform a user who has read/write permissions on the profile. After entering the user's credentials, click "Submit";
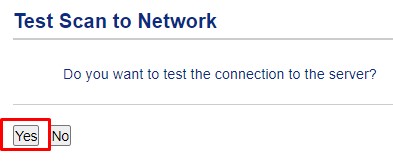
A window to test the connection to the folder will appear, click "Yes" to validate the connection;
A "Test OK" message will appear, signaling that you can now scan to a network folder on your all-in-one or scanner. If an error message appears, please check the information provided above and try again;
NEXT SECTION >